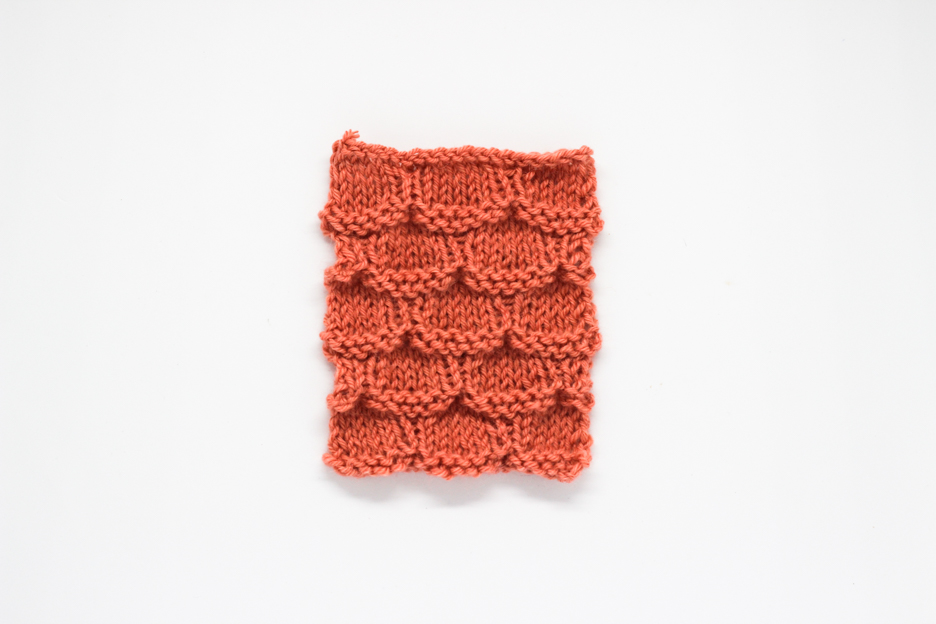
If there’s one trend that comes and goes every season it’s fringe. It’s perfect to give a fun and casual touch to any garment. In this step-by-step tutorial we show you an easy way to add fringe as you are knitting. Let’s see how to do it!
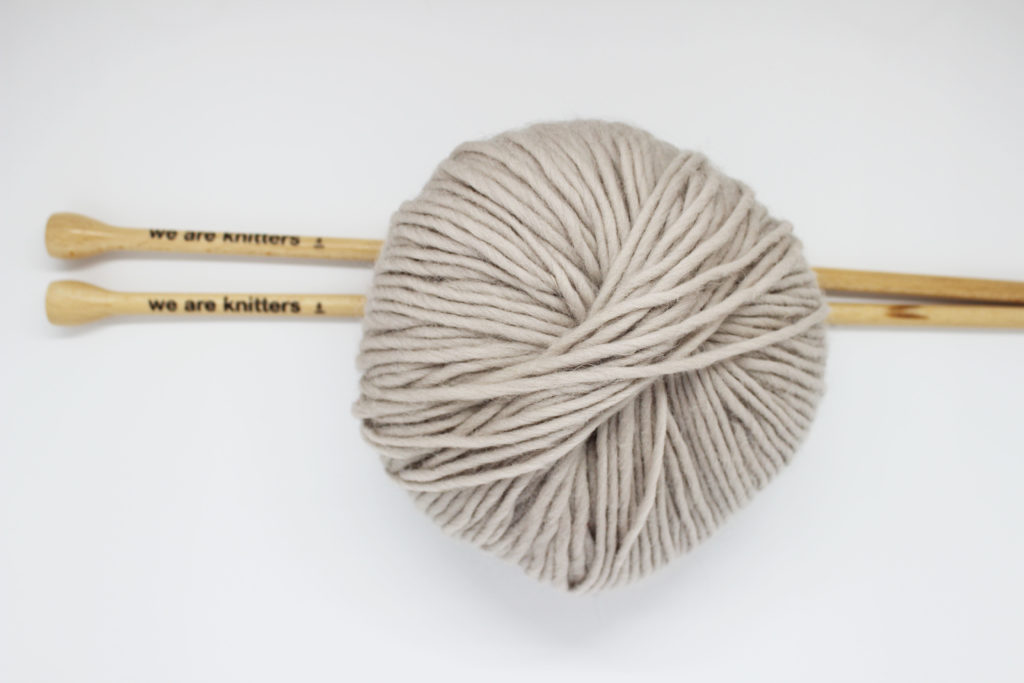
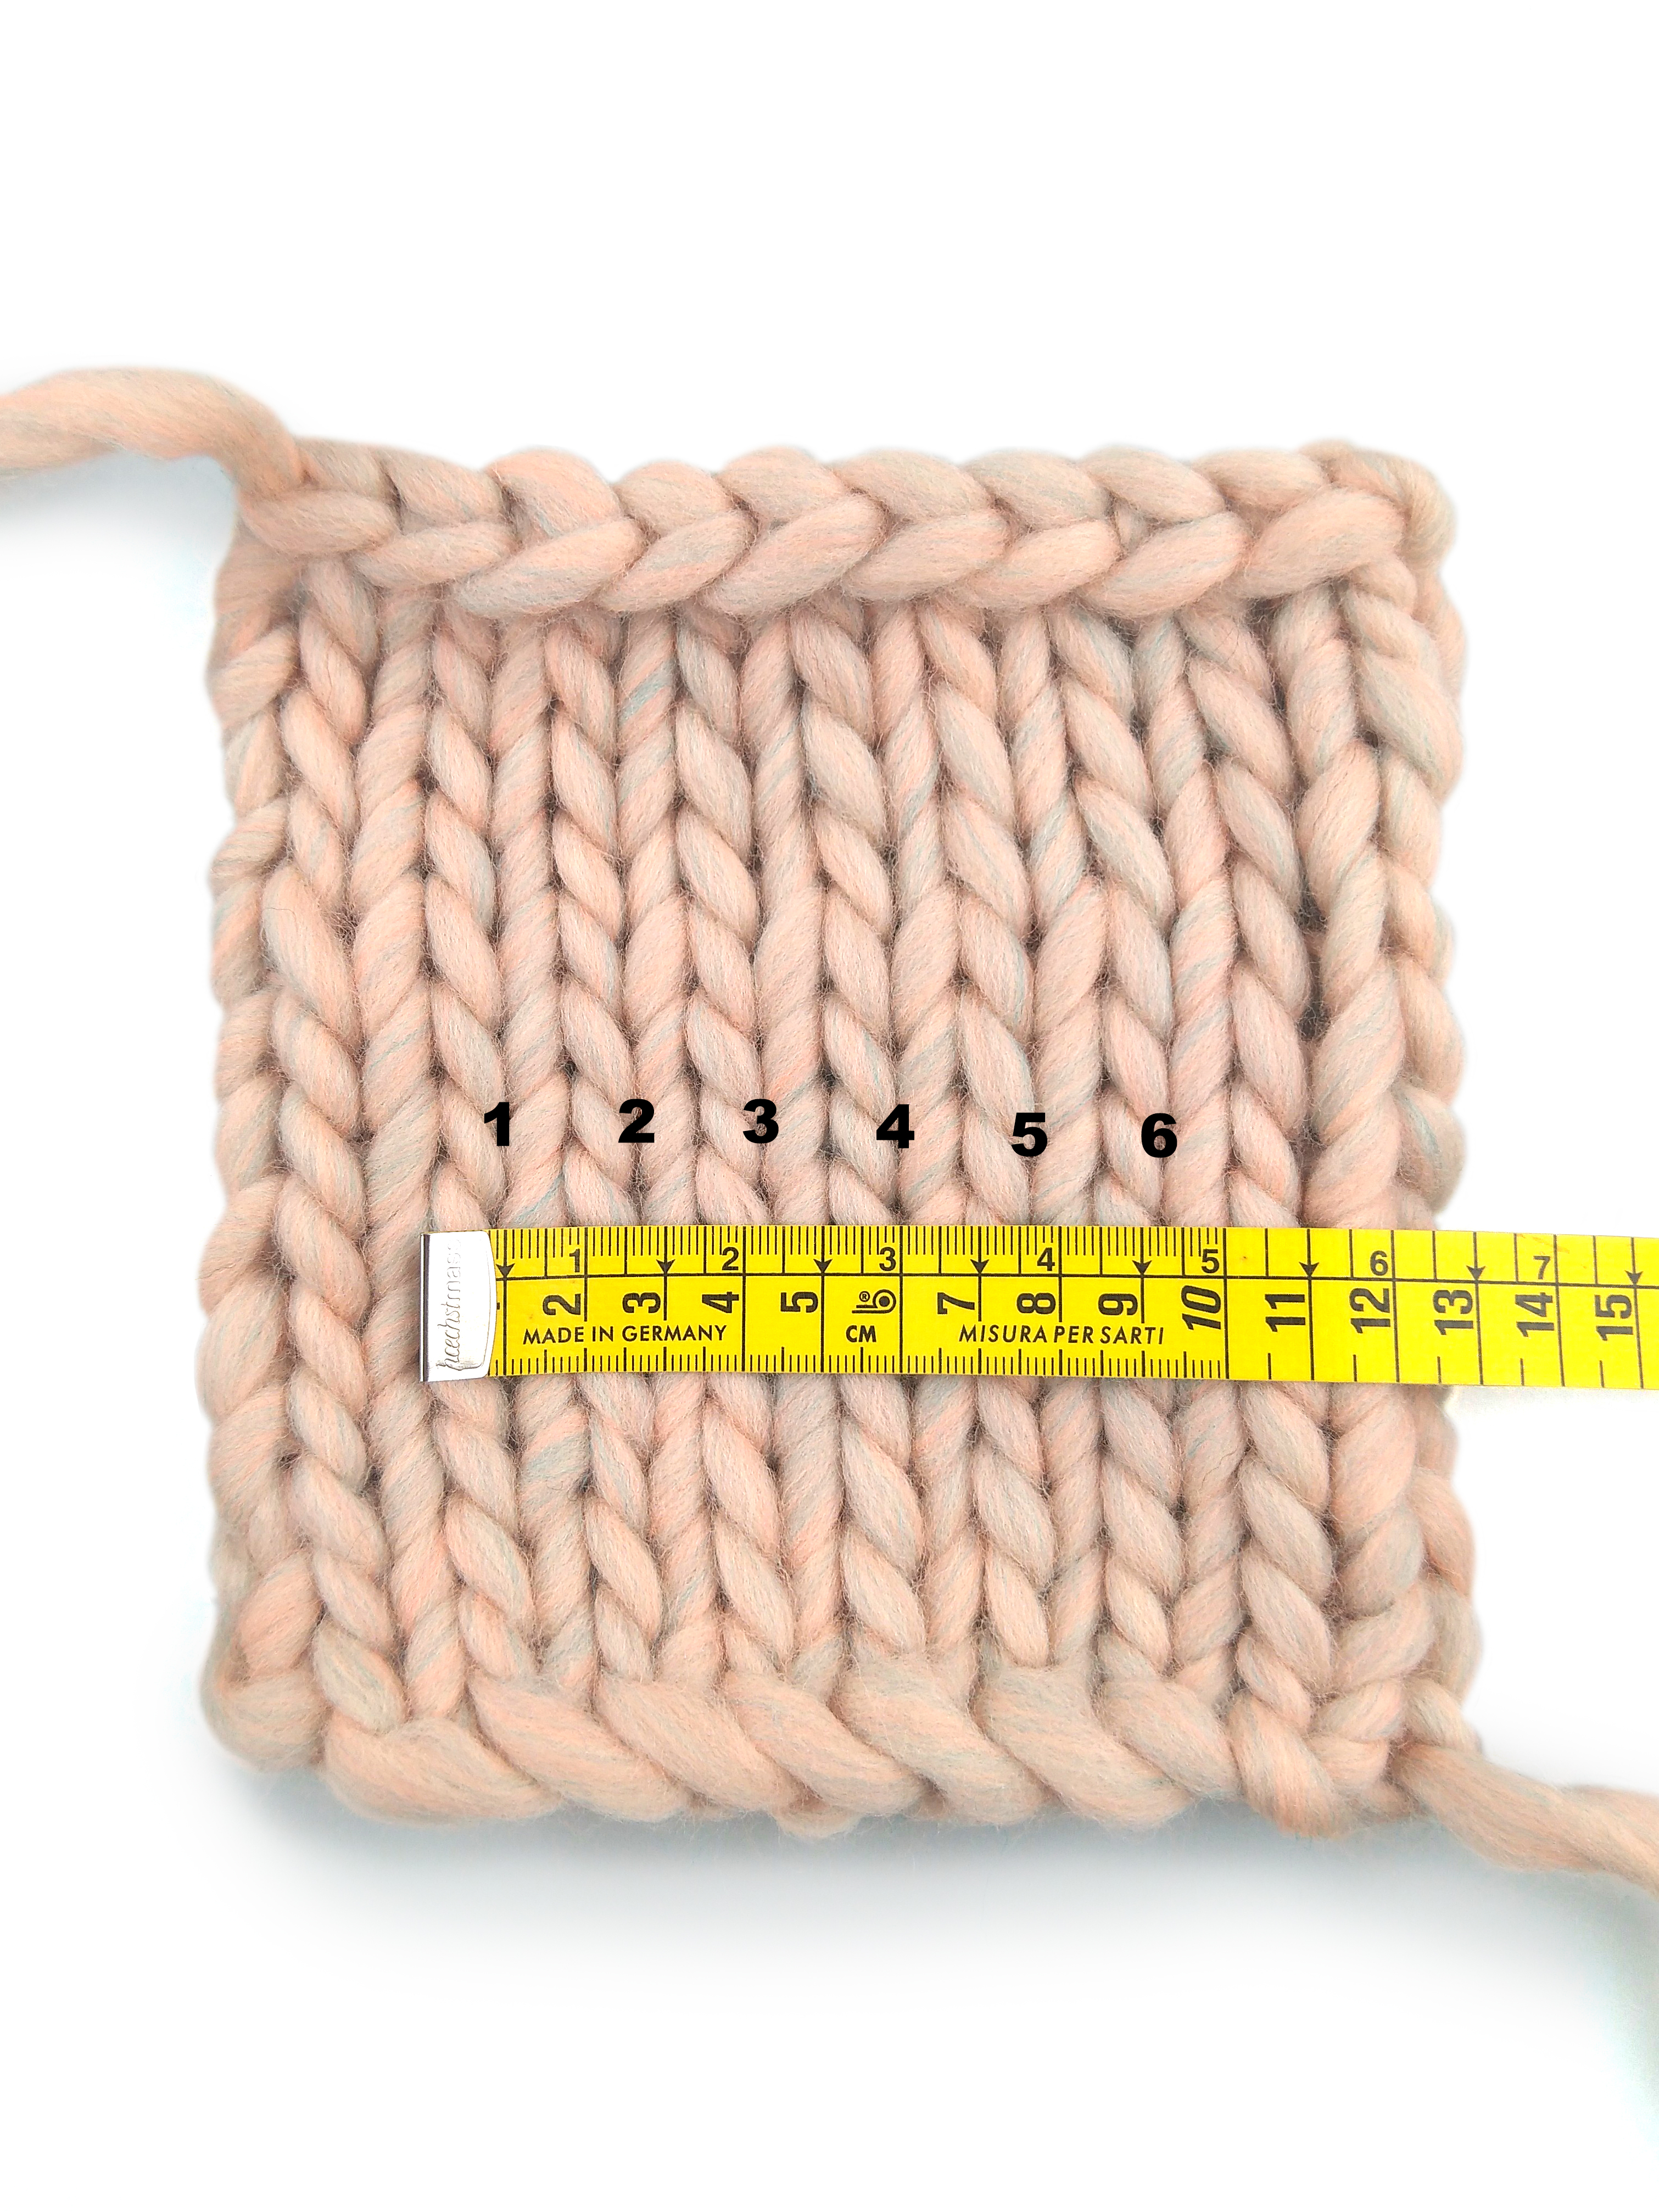
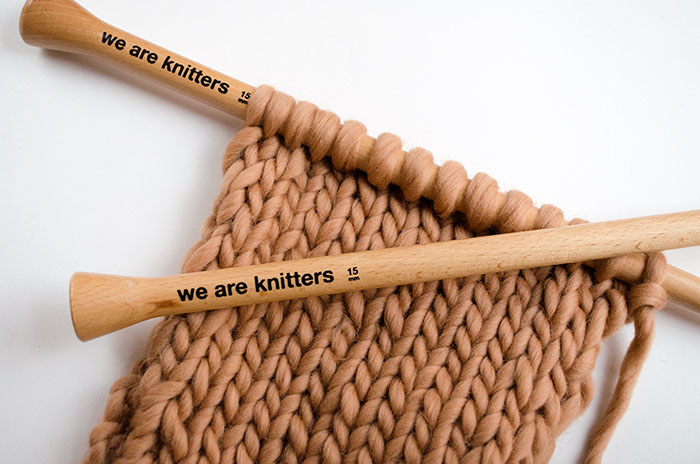
For this tutorial we used US size 11 needles and a skein of our fine Petite Wool.
Before beginning you should review the following techniques that we will be using:
As we said above, we will make the fringe as we knit the project. In this way the fringe will be on both sides.
Step 1
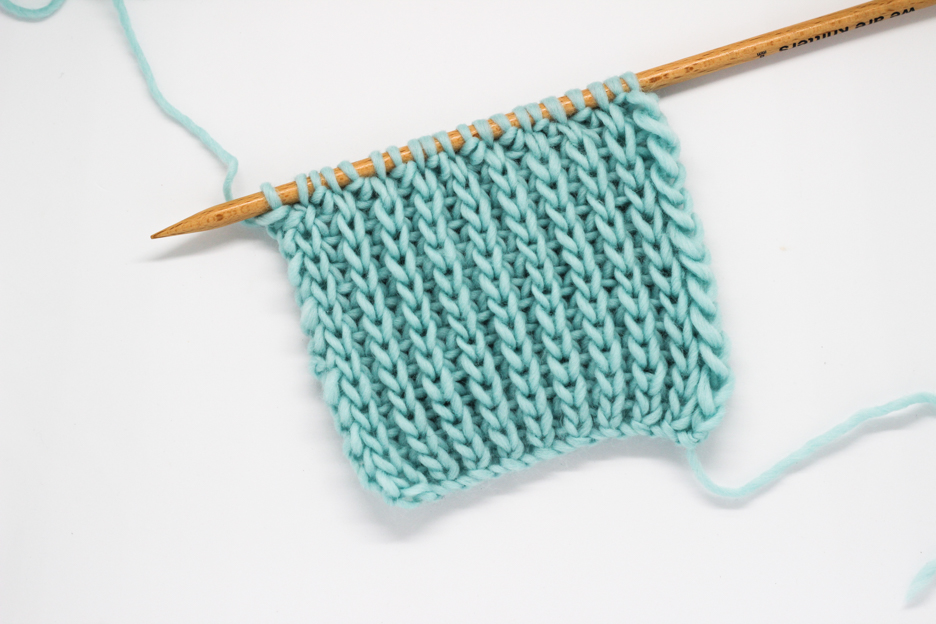
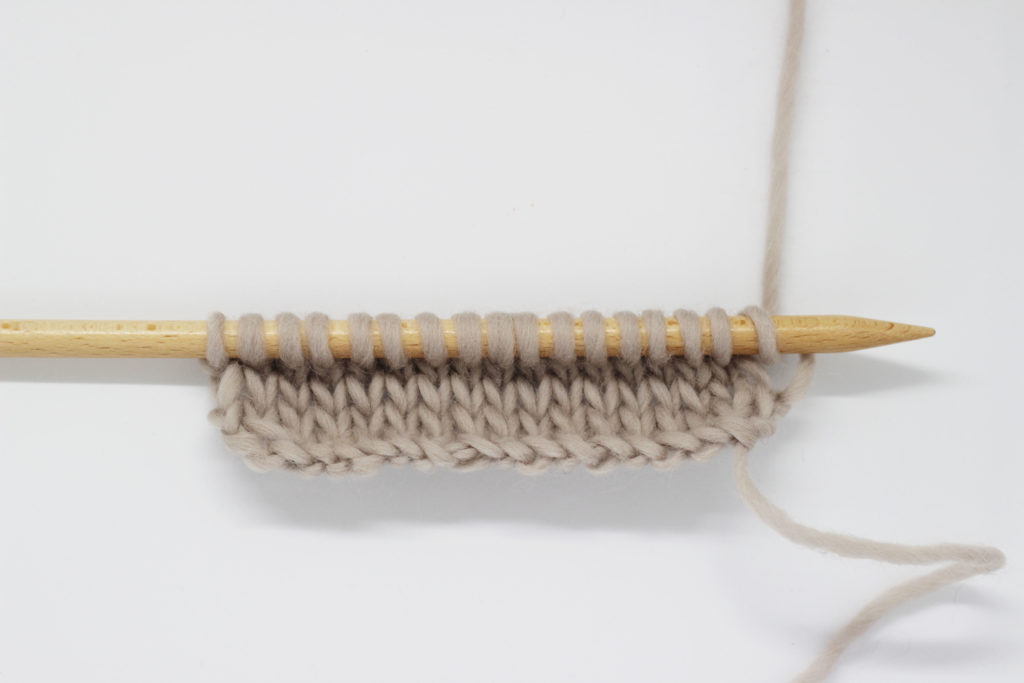
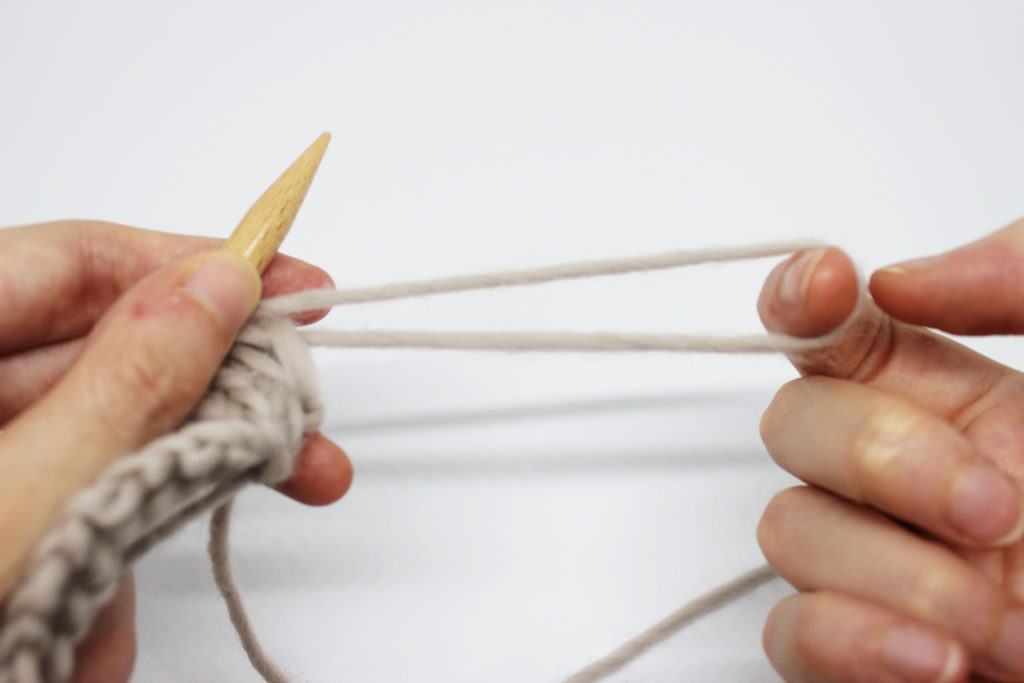
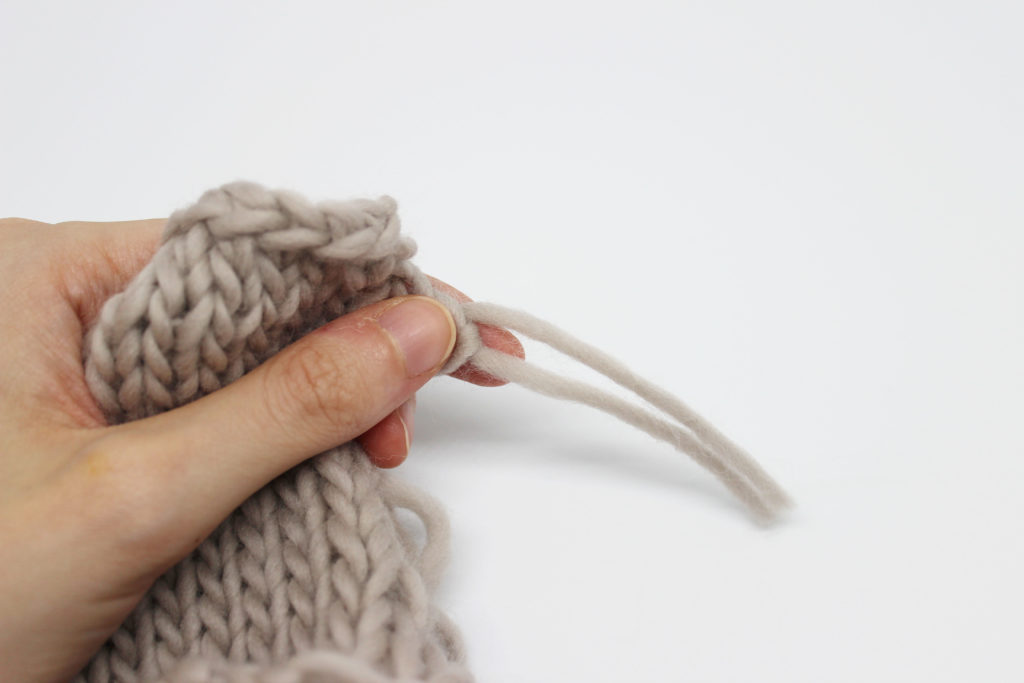
To make the fringe we’ll do the following: after you finish a row, and before beginning the next, we’ll form a loop with about 8 inches (20 cm) of yarn.
Step 2
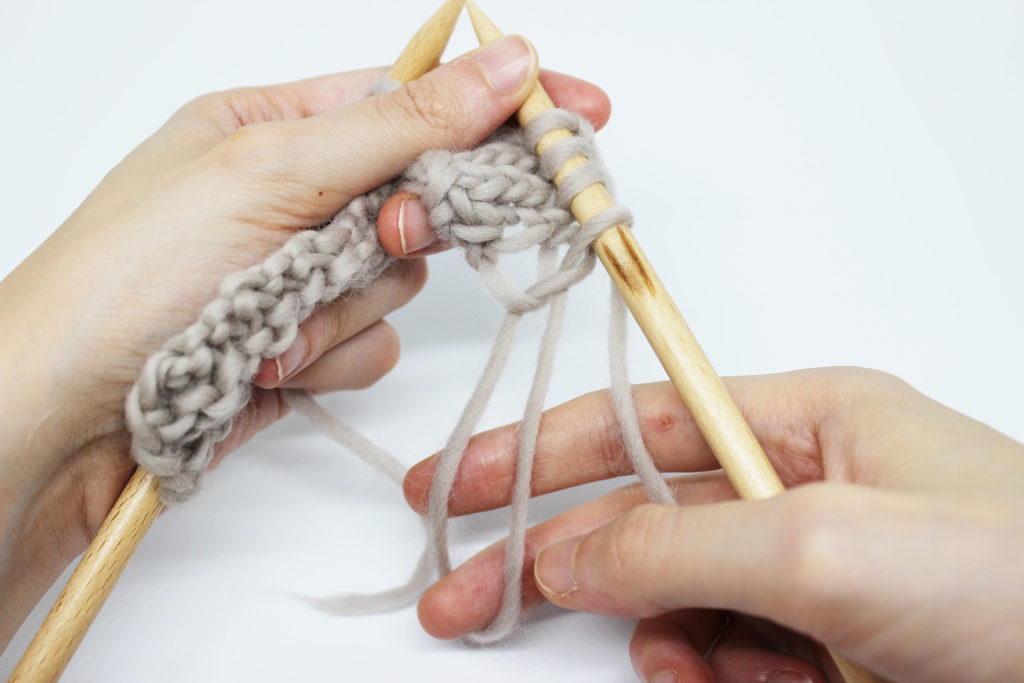
Now we continue knitting as usual to the end of the row. As you can see in the photo the loop that you made in the last row is at the beginning of the row, on the side of the knitted fabric.
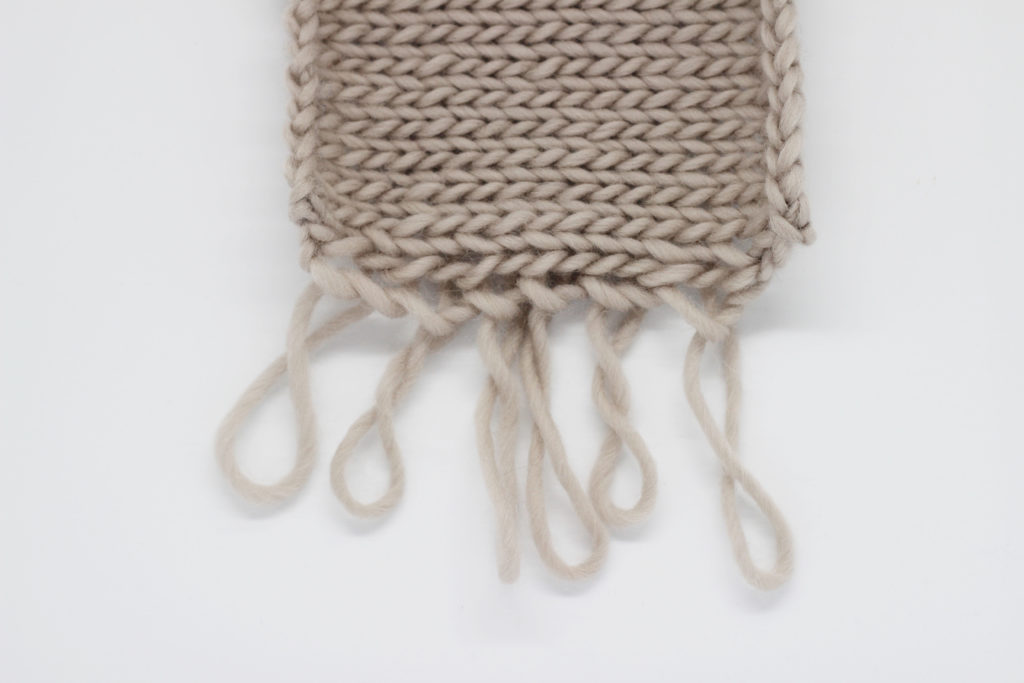
Repeat these two steps to make as much fringe as you want.
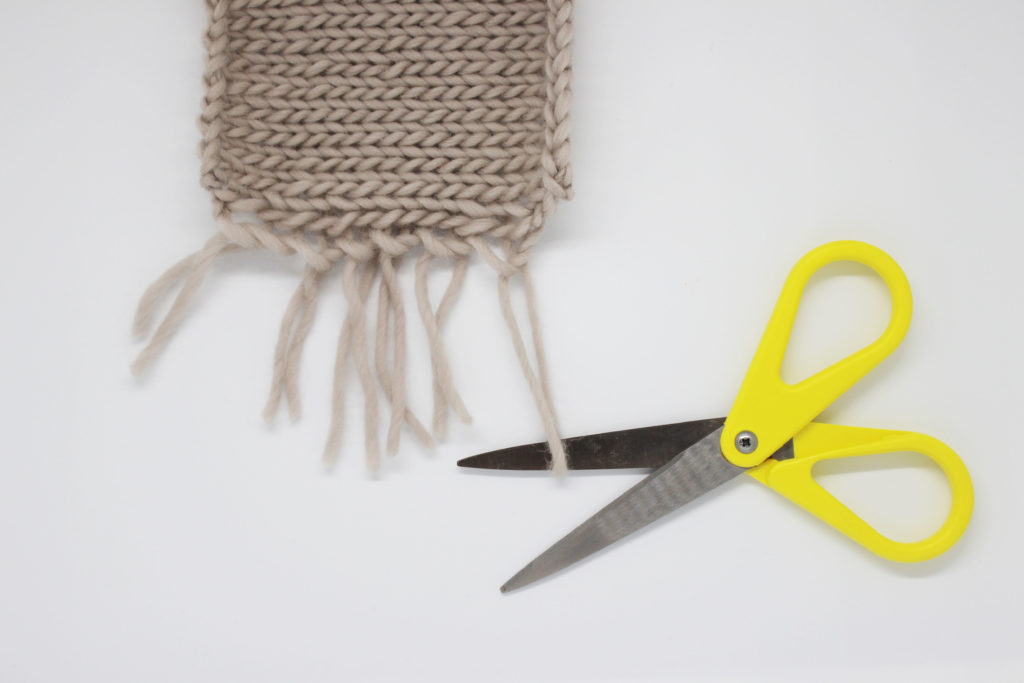
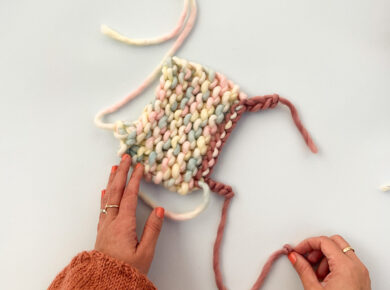
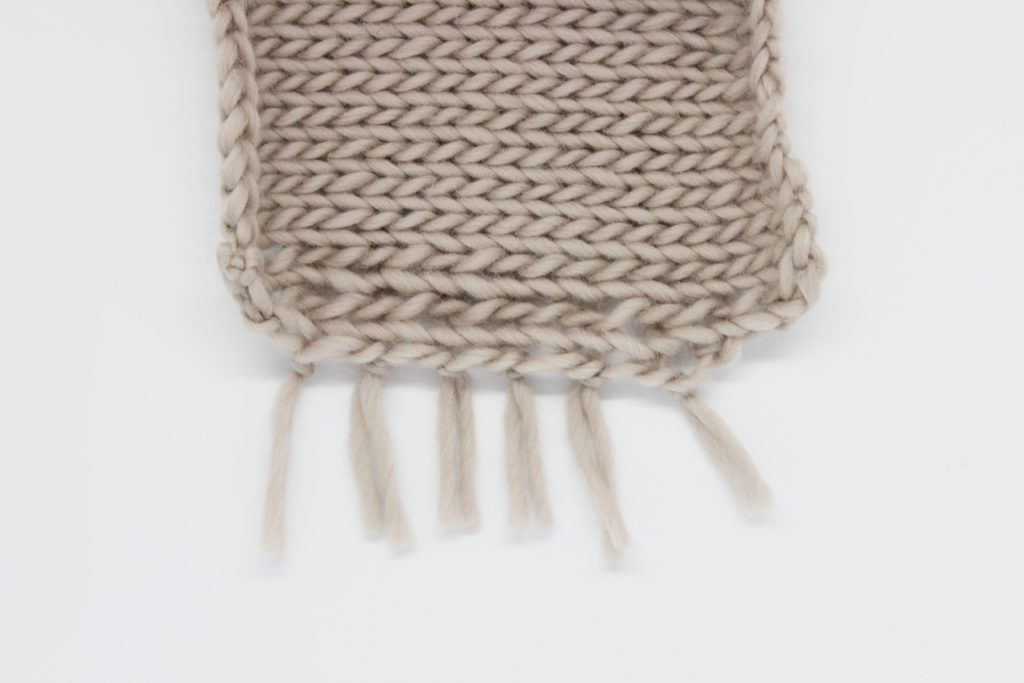
Now we will cut the loops that we made on the sides in half with scissors.
Tie the two strands of each loop together to keep the fringe from unraveling.
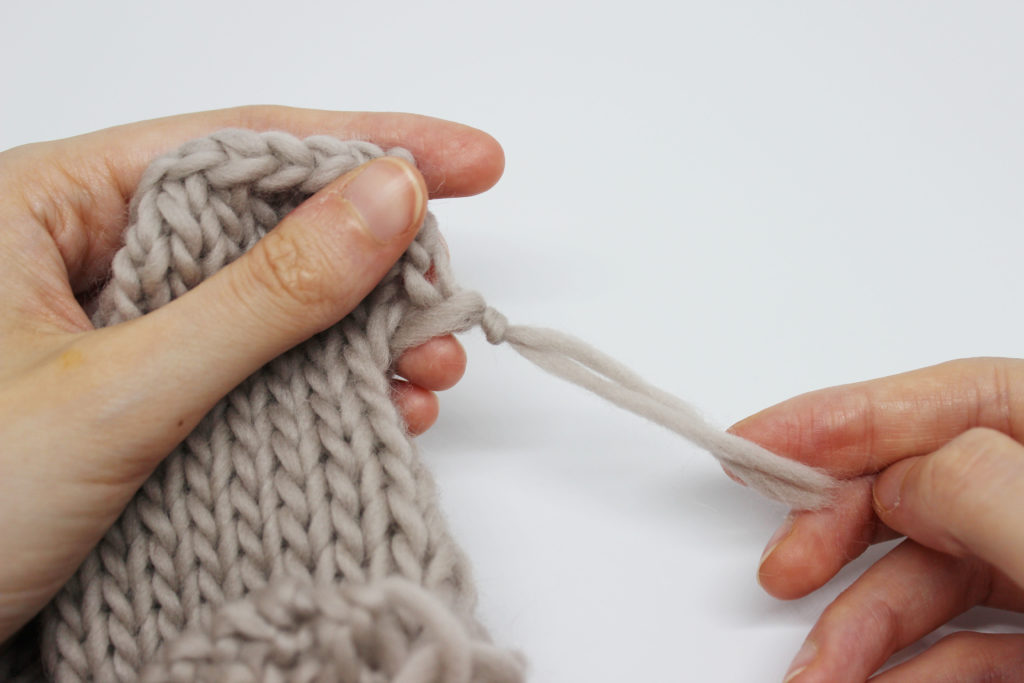
Tie them as close to the knitted fabric as possible.
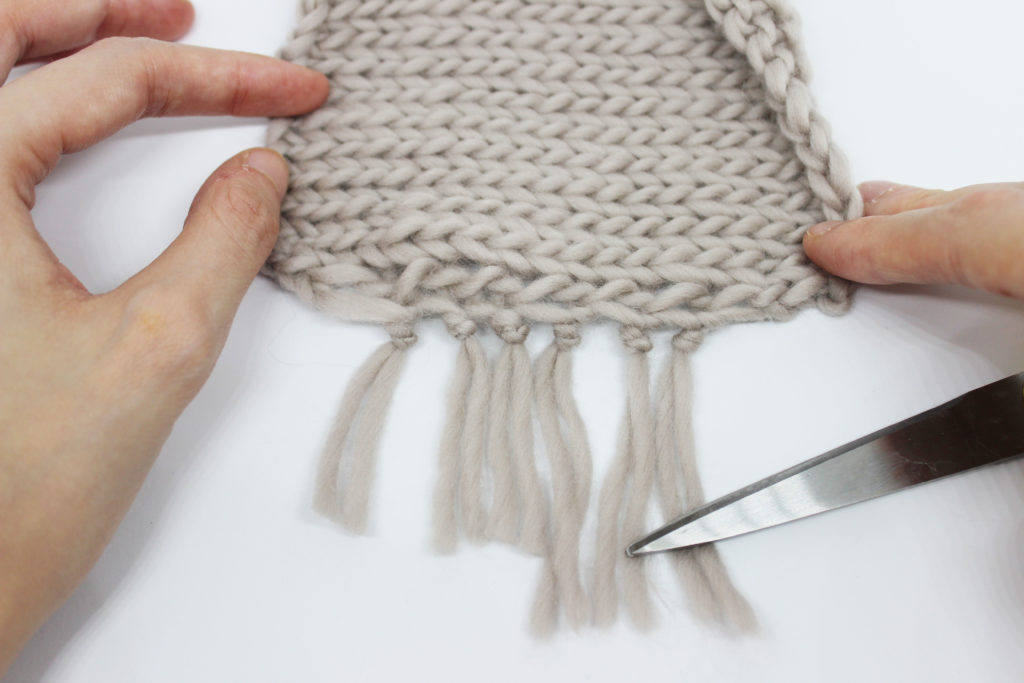
Once you have tied all of the strands together, you can trim them to make sure they are about the same length.
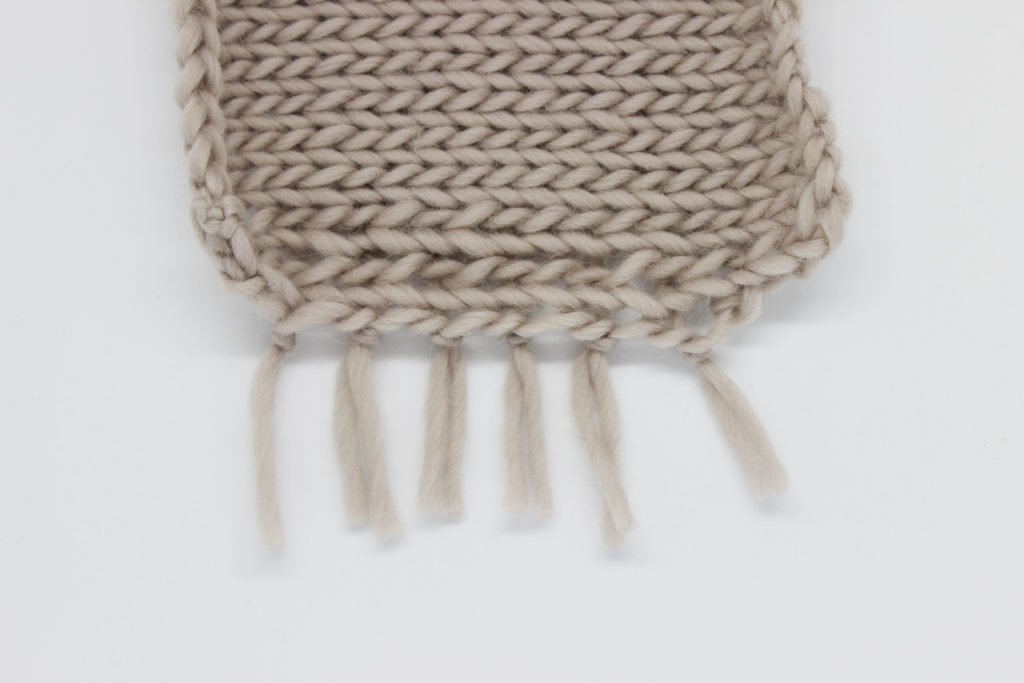
We hope you try this quick and easy step-by-step to add fringe as you knit. It will add an original and casual touch to your garments. Don’t forget to share your results with us via social media using the hashtag #weareknitters, we love to see your ideas. See you next time!