At We are Knitters we like easy, fast projects that allow you to use even the smallest strand of yarn. Scraps shouldn’t be forgotten; they also have their place and their projects. Today we teach you how to make crochet bracelets to rescue those leftovers, a project that will take you little time, great for spring and allows you to use those mini cotton yarn balls that you’ve been holding on to.
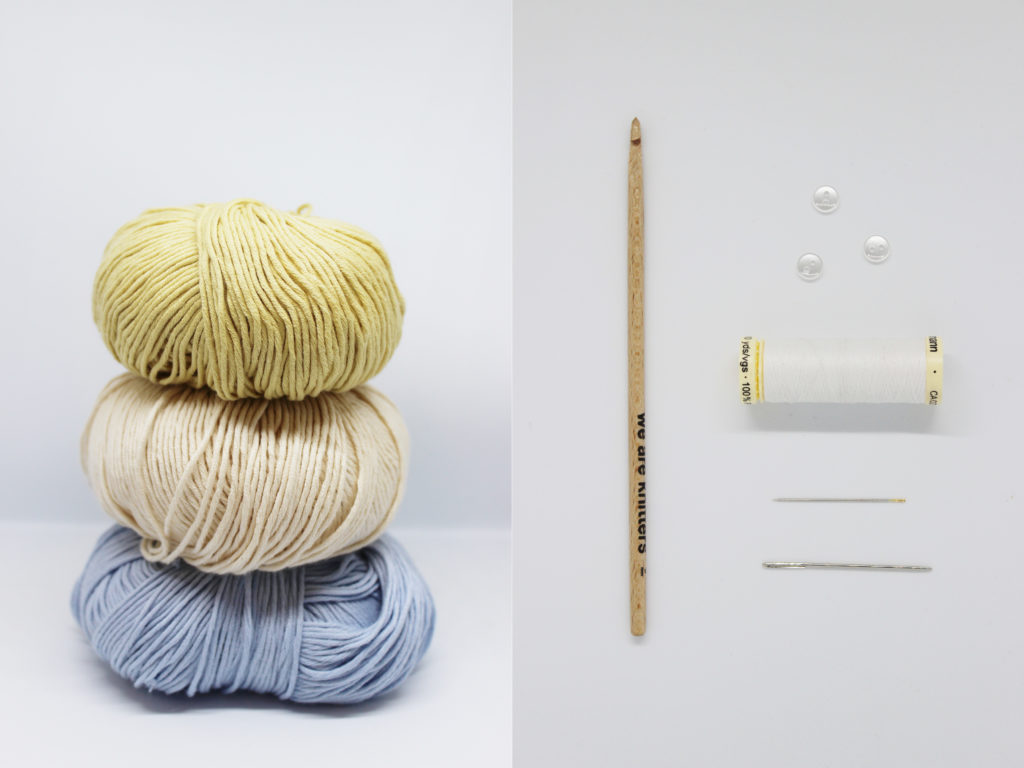
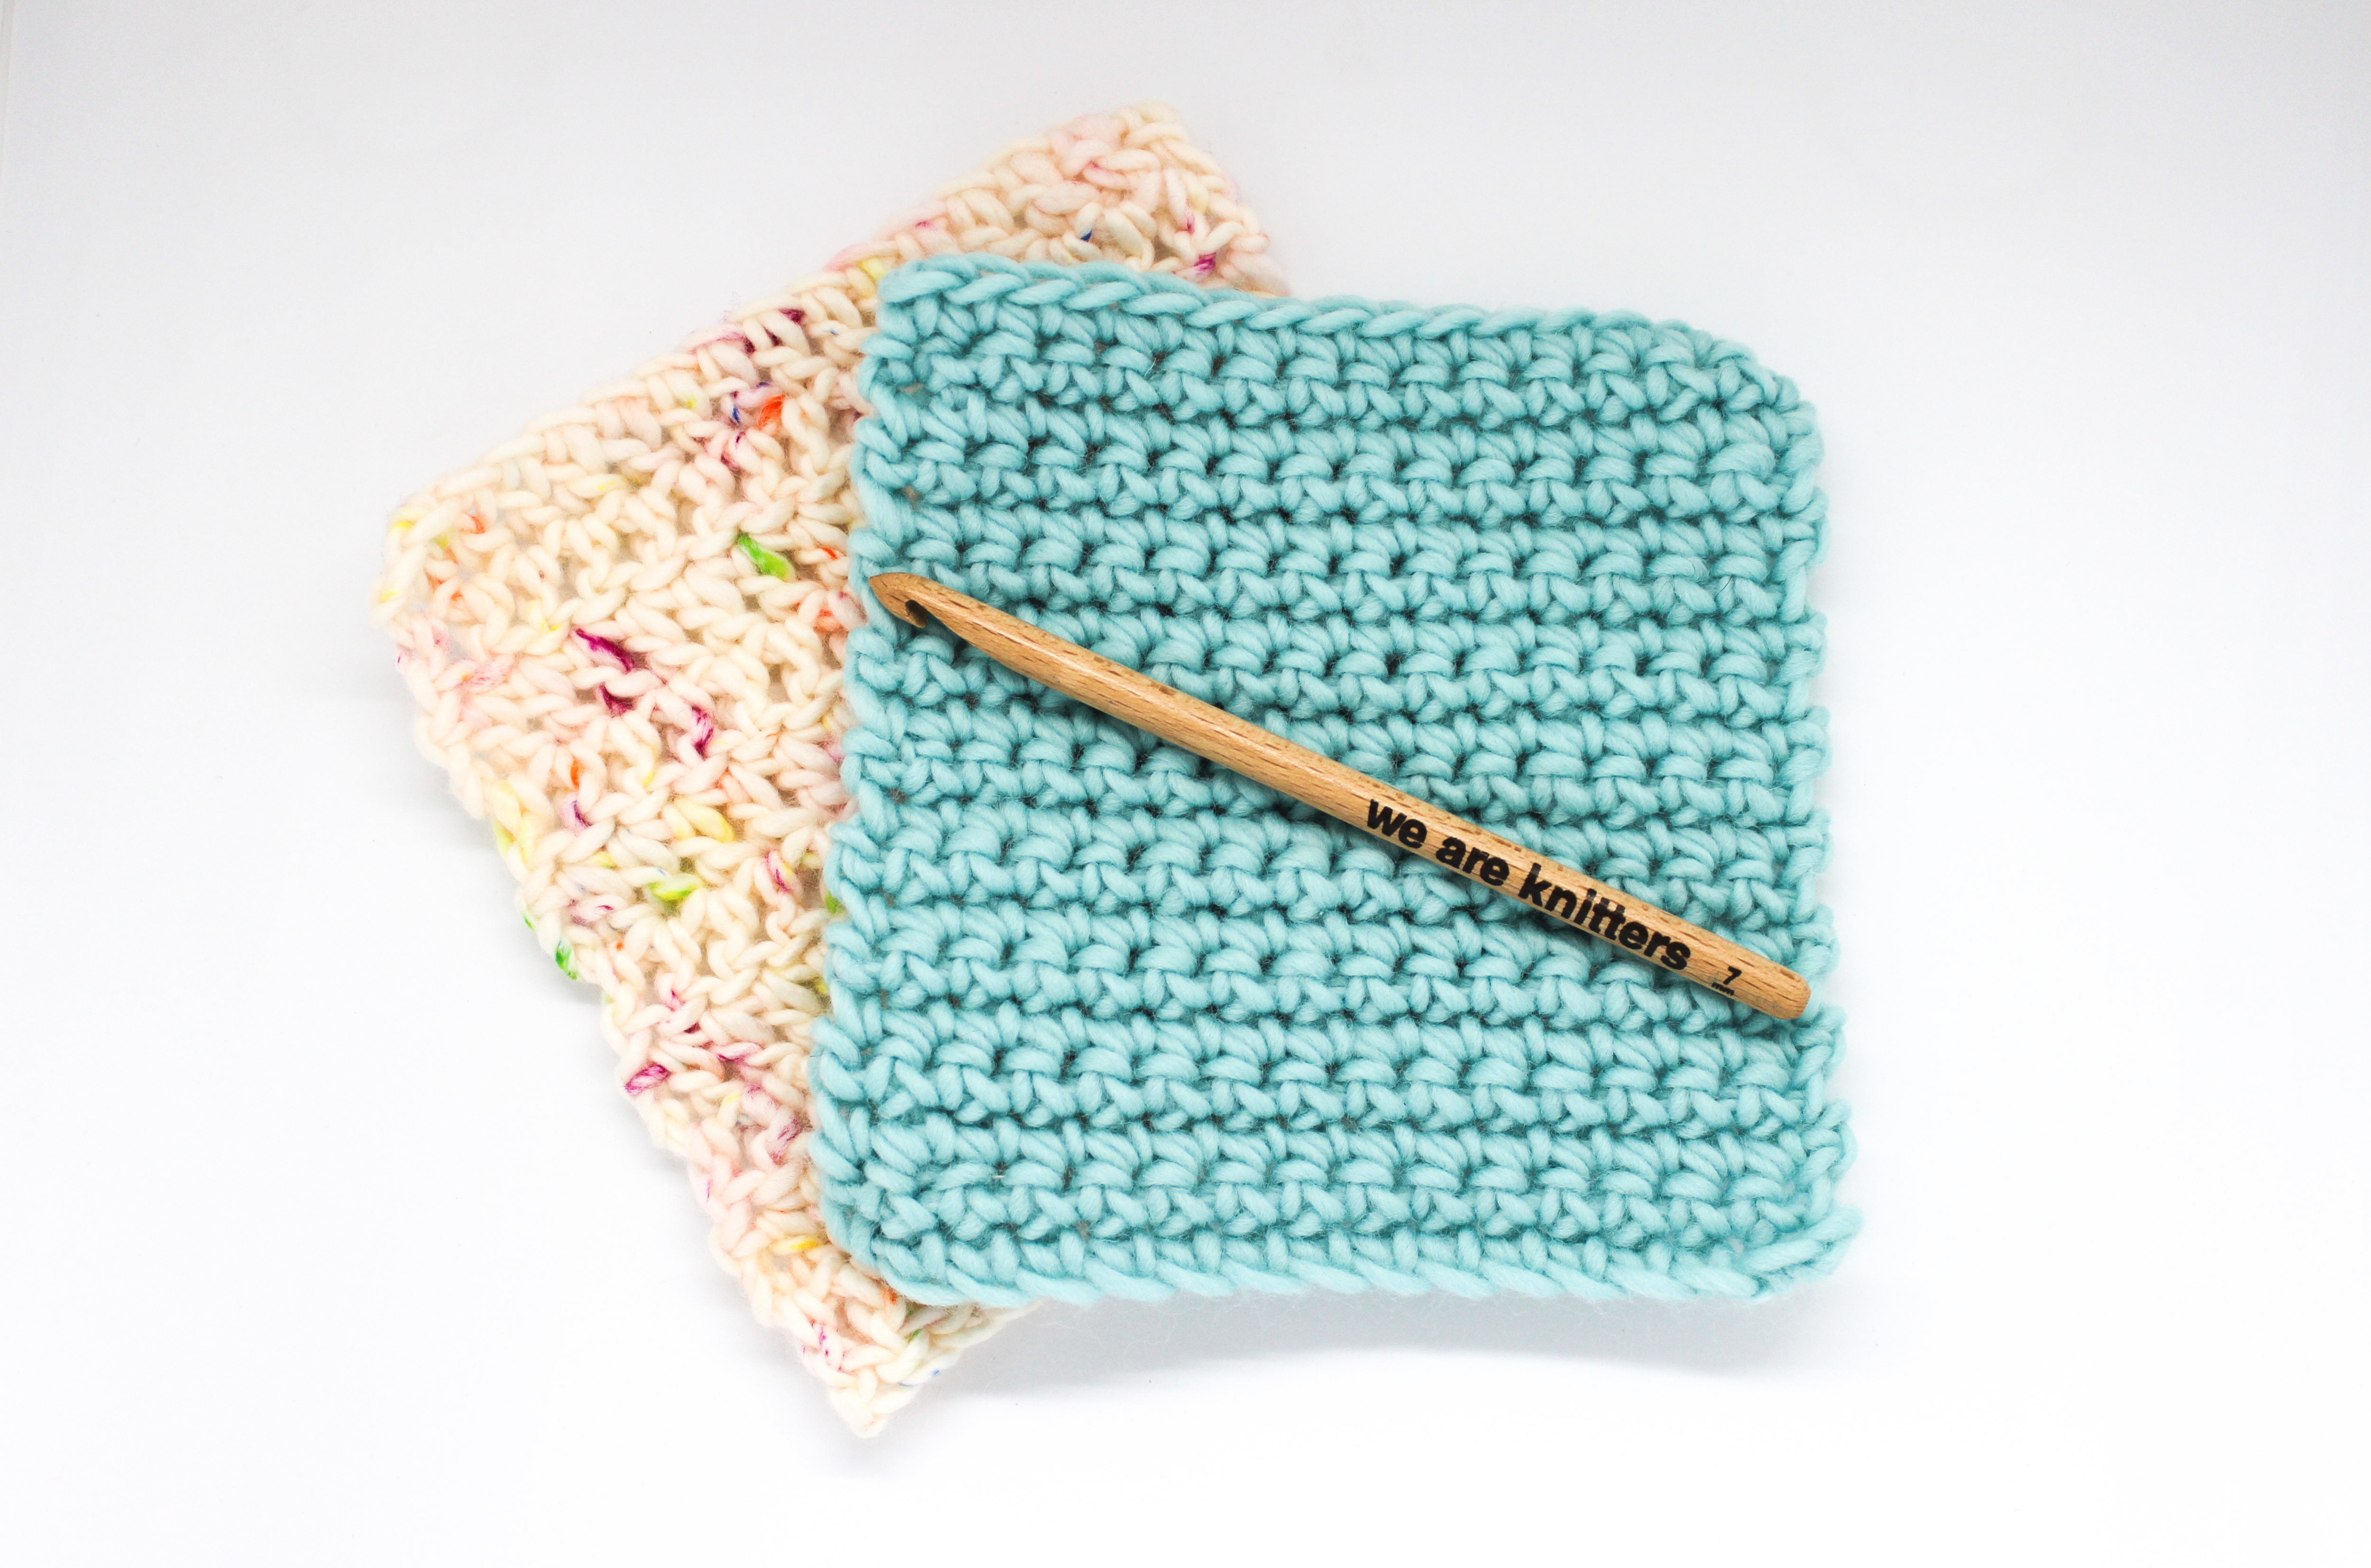
For this step by step we have used: a 5 mm crochet hook, some of our Pima Cotton, buttons (that you can reuse from clothes you no longer wear), thread, a sewing needle, and needle to weave in the ends.
The only stitches you must know to make this project are: Chain stitch and Single crochet.
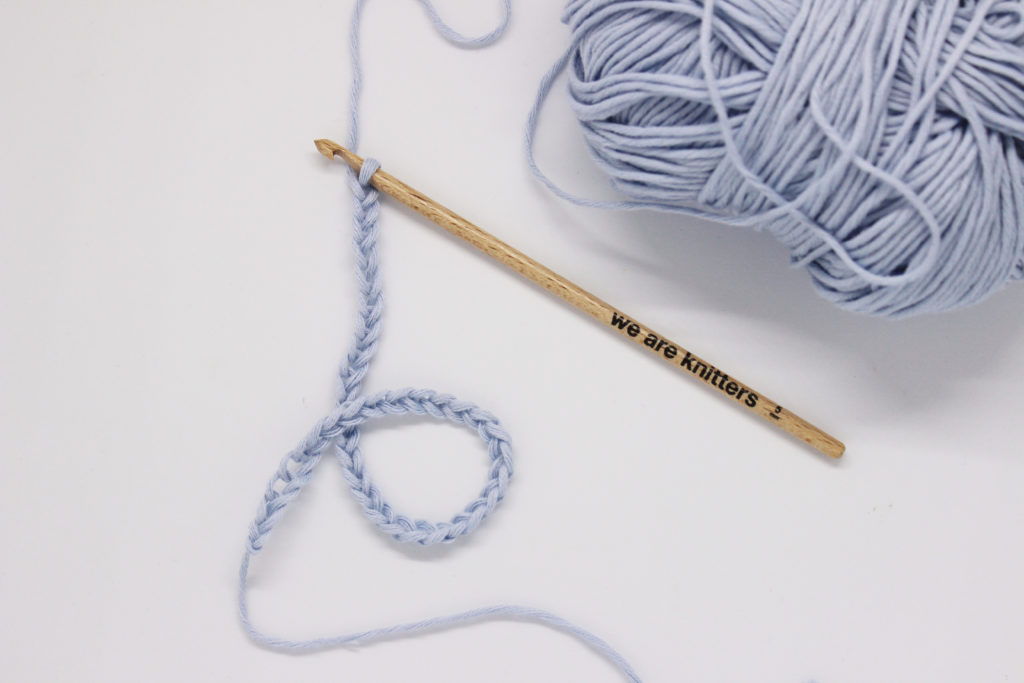
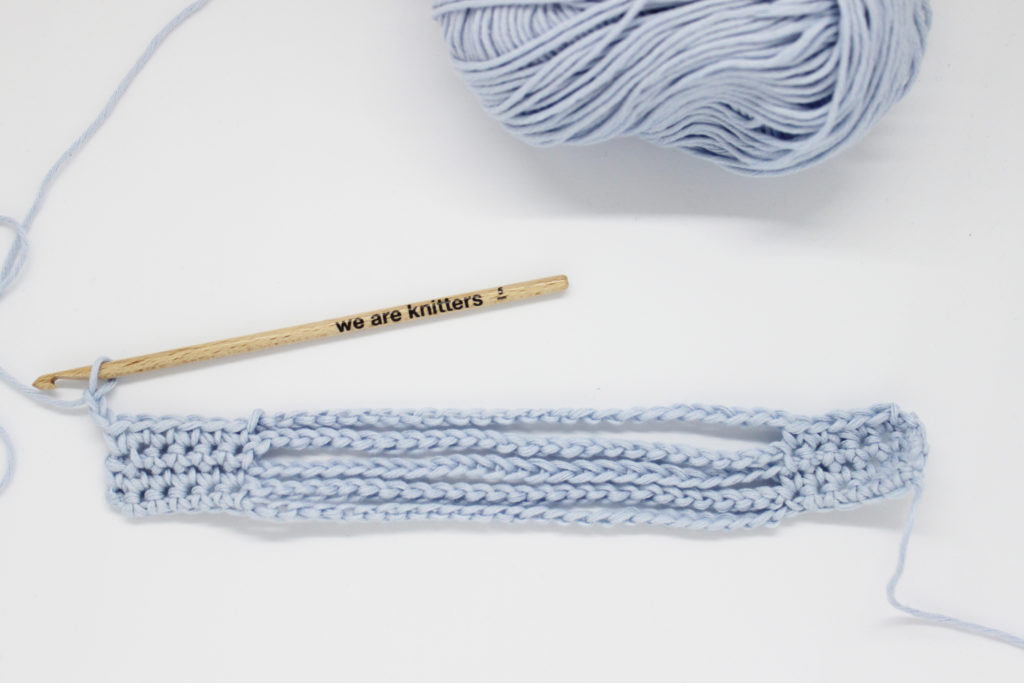
We’ll begin our bracelet chaining 38 stitches plus 1 extra for the turning chain of the first row.
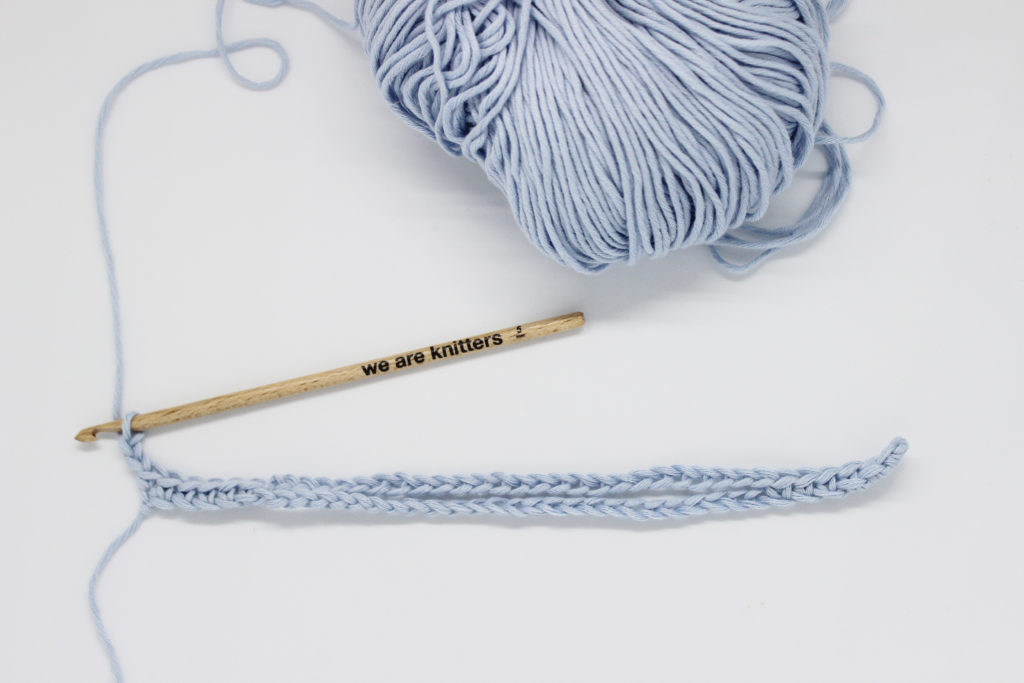
Row 1: 5 single crochet, remember that the extra chain counts as the first stitch, so you must insert your hook into the third chain from your hook. Then chain 26, skip 26 stitches, and single crochet 6.
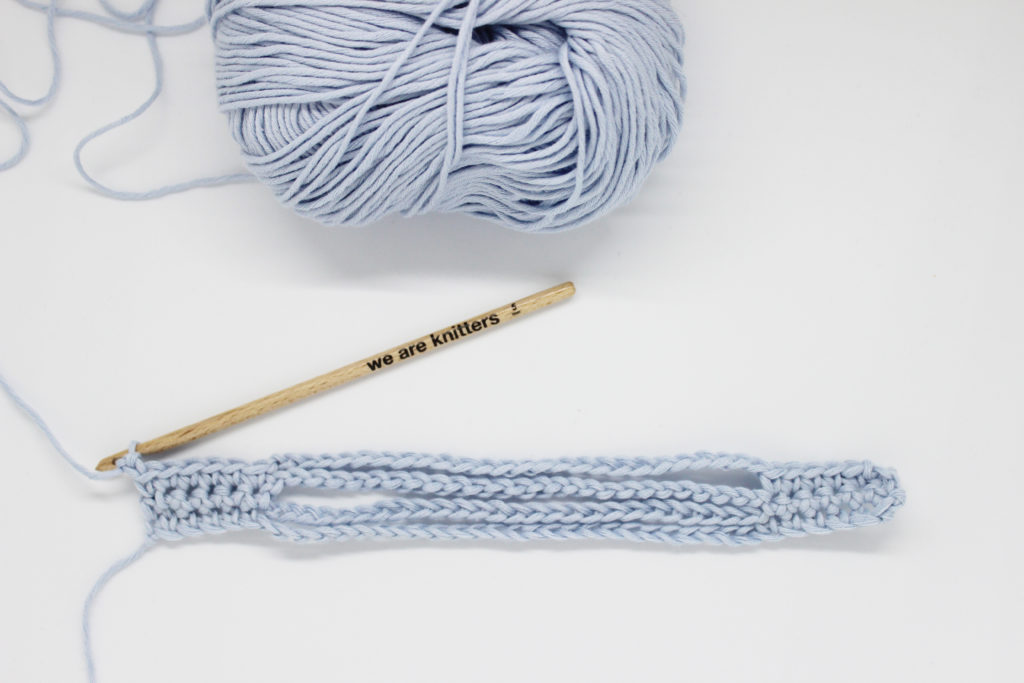
Rows 2 and 3: chain 1, 5 single crochet. Skip the chain space from the previous row, 6 single crochet in the last 6 stitches of the previous row.
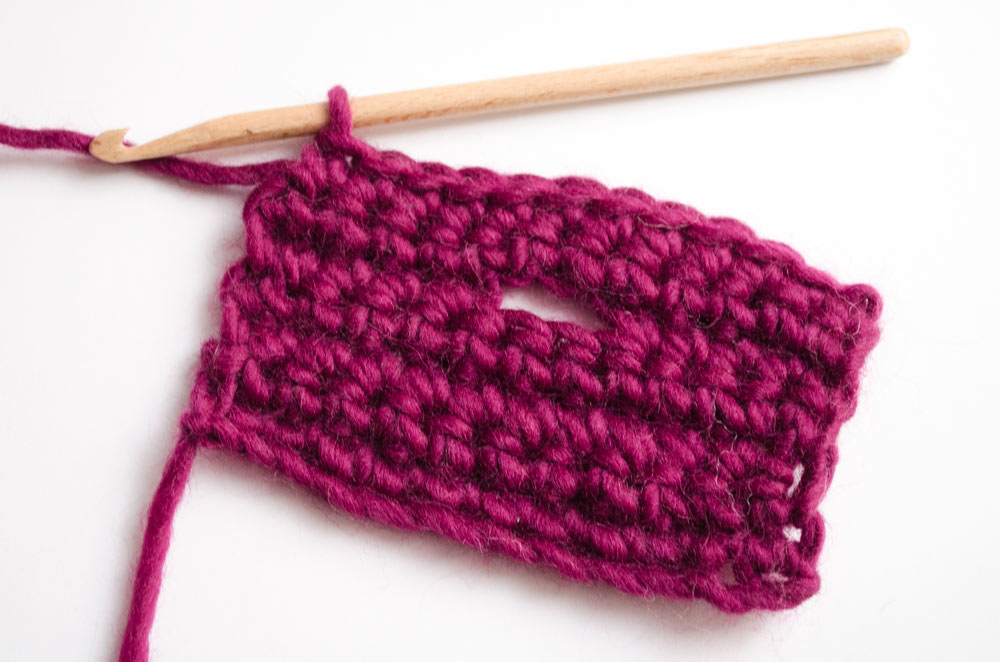
Buttonhole Row: In this row, we’re going to make the buttonhole for the bracelet. To do this: chain 1, 2 single crochet, chain 1, skip 1, 2 single crochet. Chain 26, skip the chain space, 6 single crochet at the end of the row.
NOTE: The size of your button will determine how large you must make the buttonhole. We have made it with a single chain because the cotton is chunky, and our button is small. If you have a bigger button, make 2 chains, skip 2 stitches and end with 1 single crochet.
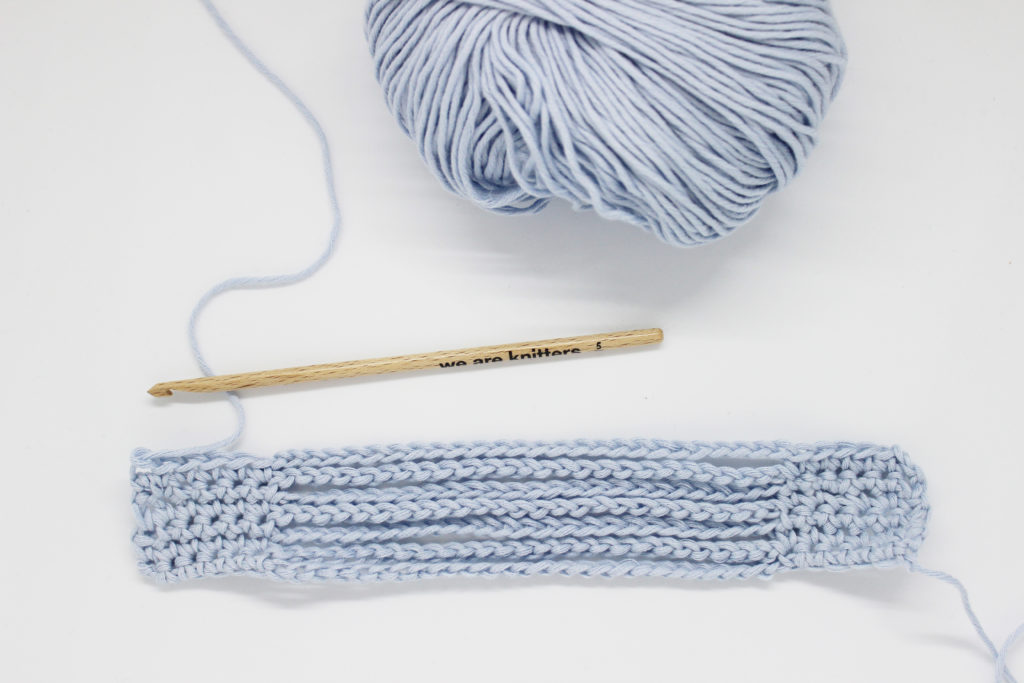
Repeat the row 2 more times. And now you’ve got your bracelet.
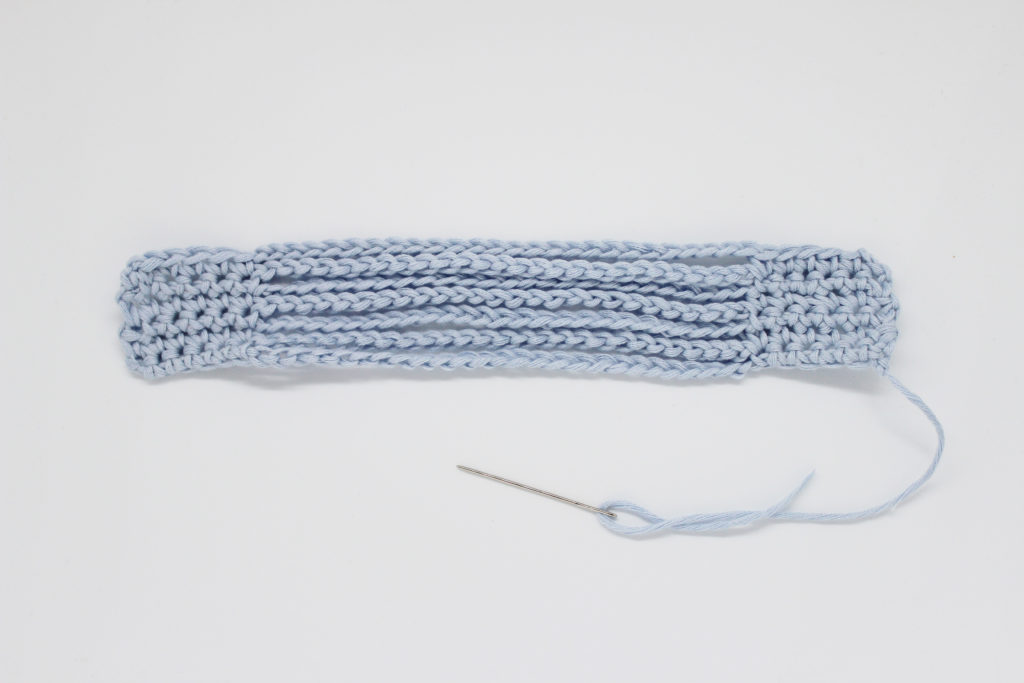
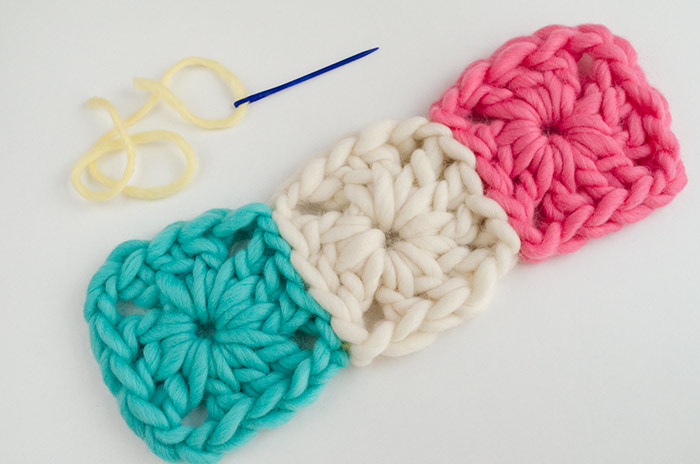
Use a tapestry needle to weave in the ends.
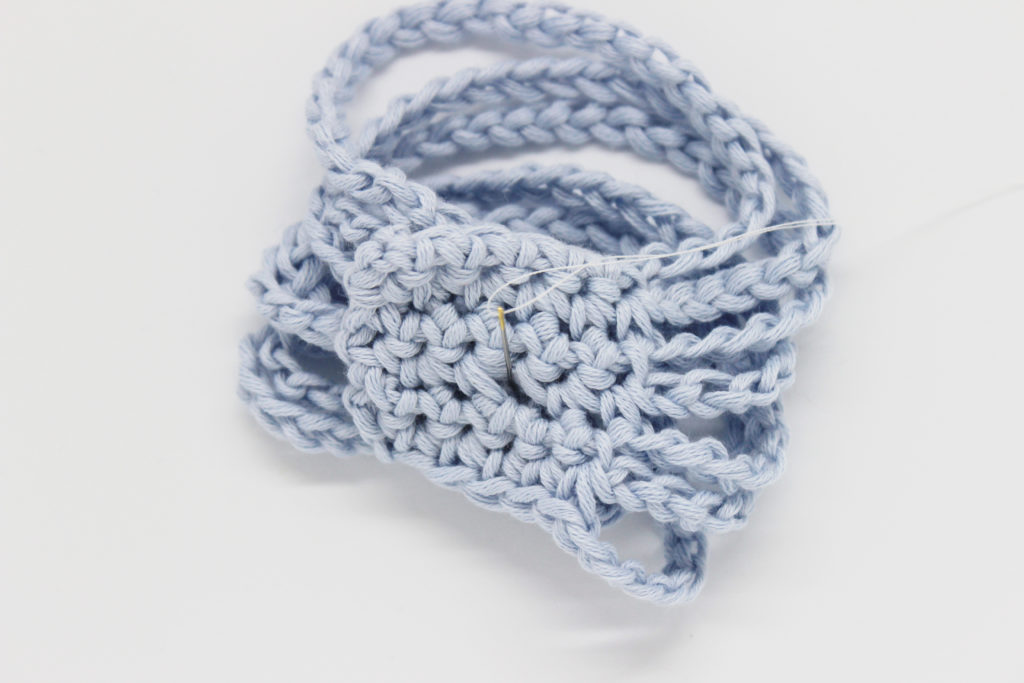
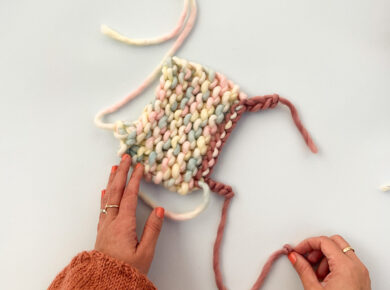
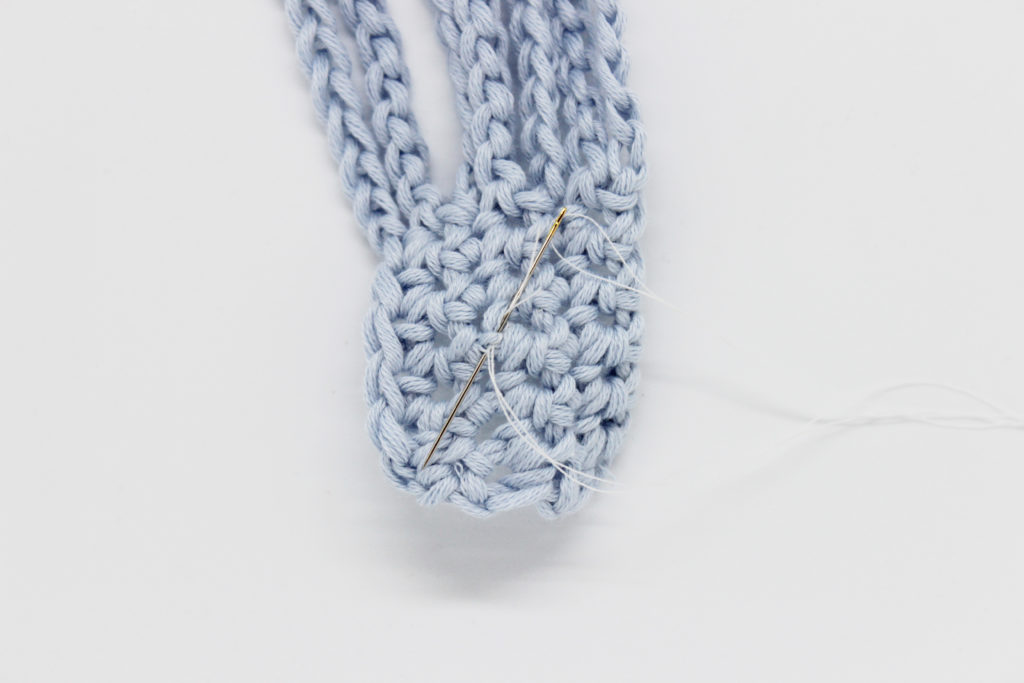
Now let’s start sewing the button. To know where to place it and to match the hole in the buttonhole: fold the bracelet as you see in the image, with the side that has the buttonhole on top of the one that is smooth. Once you have it folded like this, put the needle through the buttonhole, to indicate where you will sew the button.
Make a few small stitches before putting the button through the tip of the needle, to secure it well.
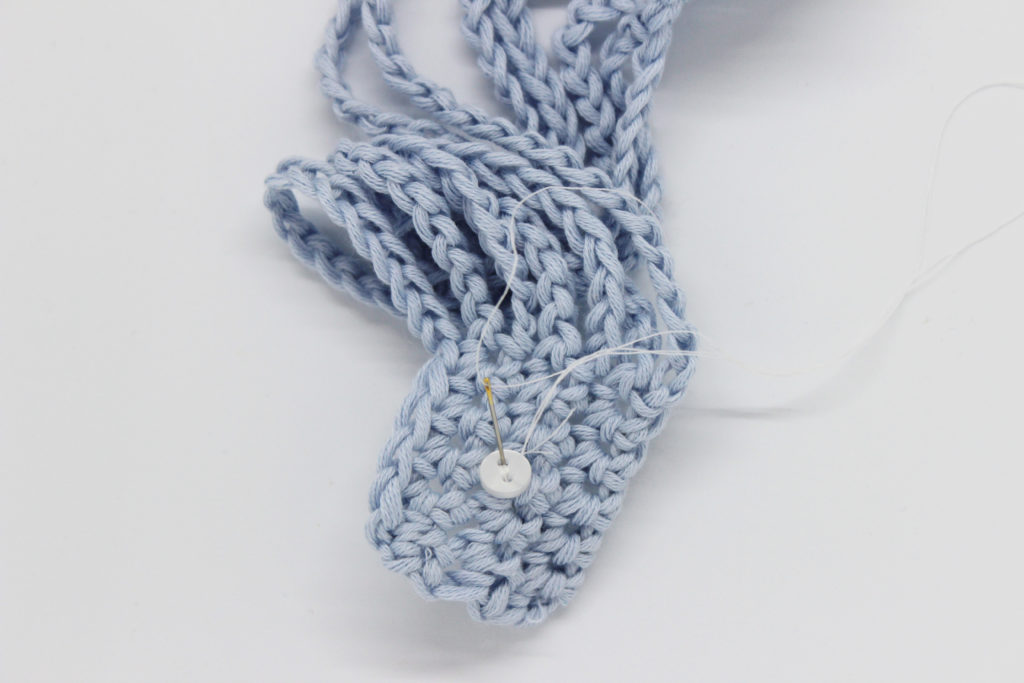
Sew on the button.
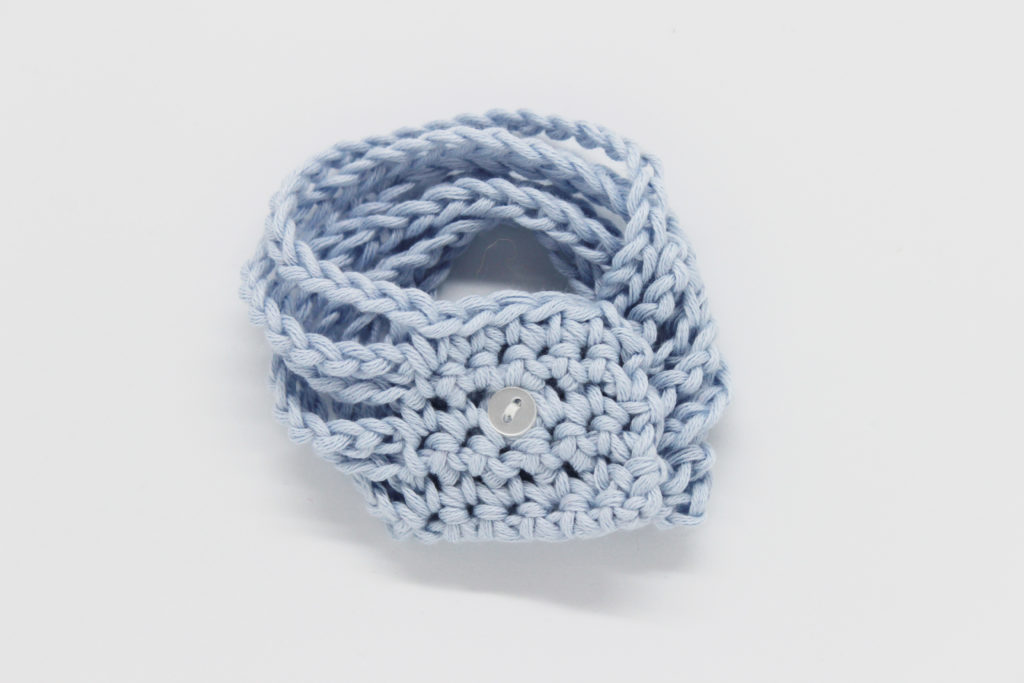
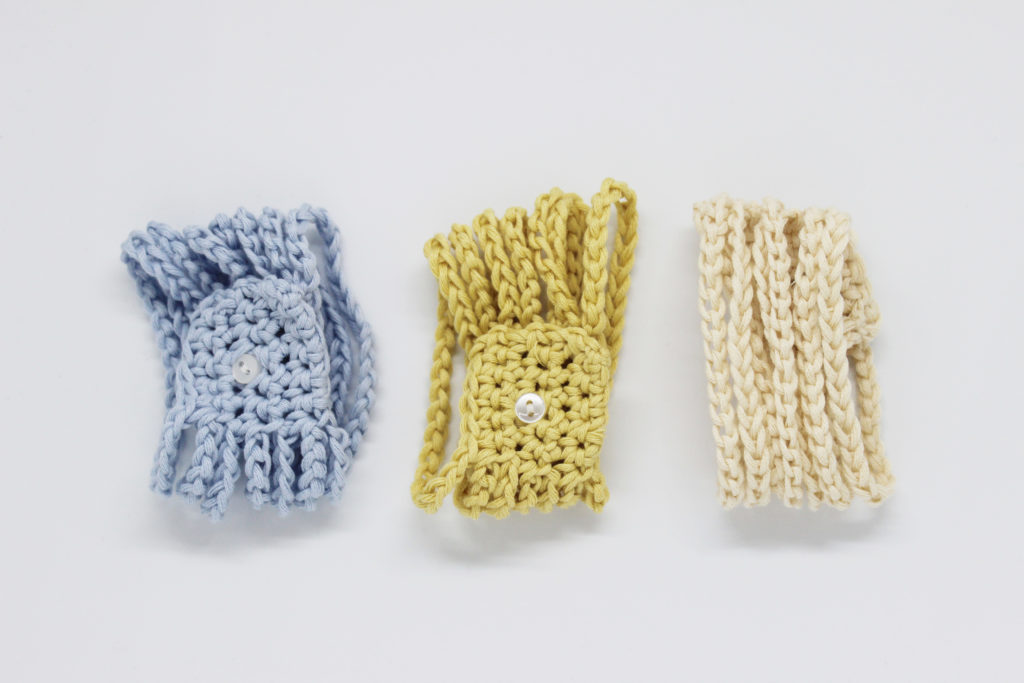
You have your finished bracelet!
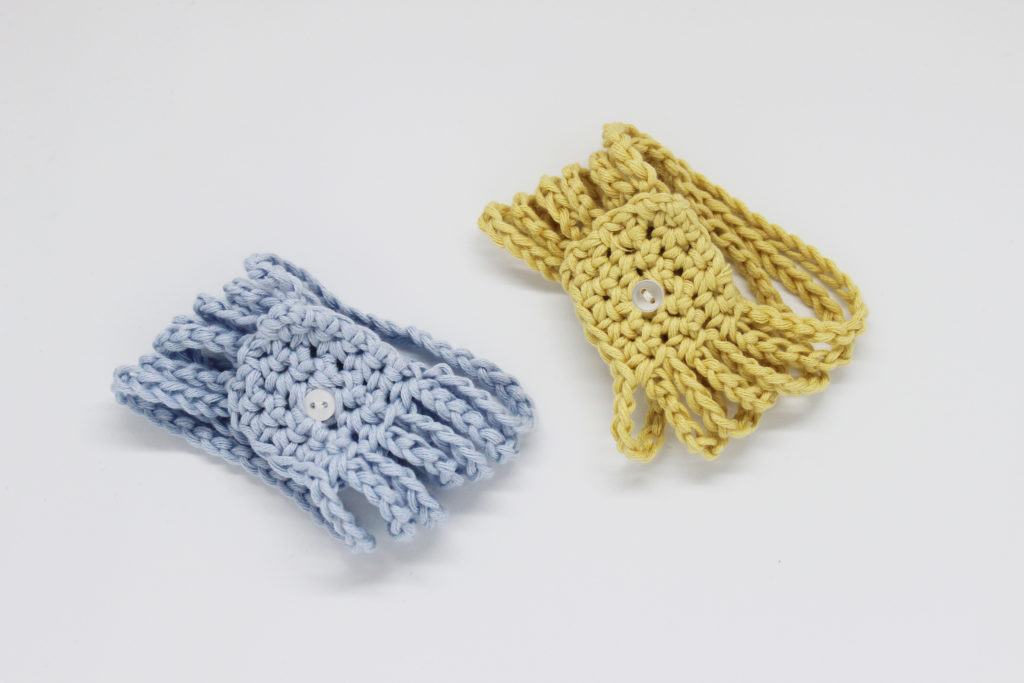
Now you only have to repeat the previous steps if you want to make more 🙂
We hope that you like this step-by-step and that you’ll show us your spring bracelets on social media with the hashtag #weareknitters. Until next time!